


一、前置条件
二、postman 使用方法示例
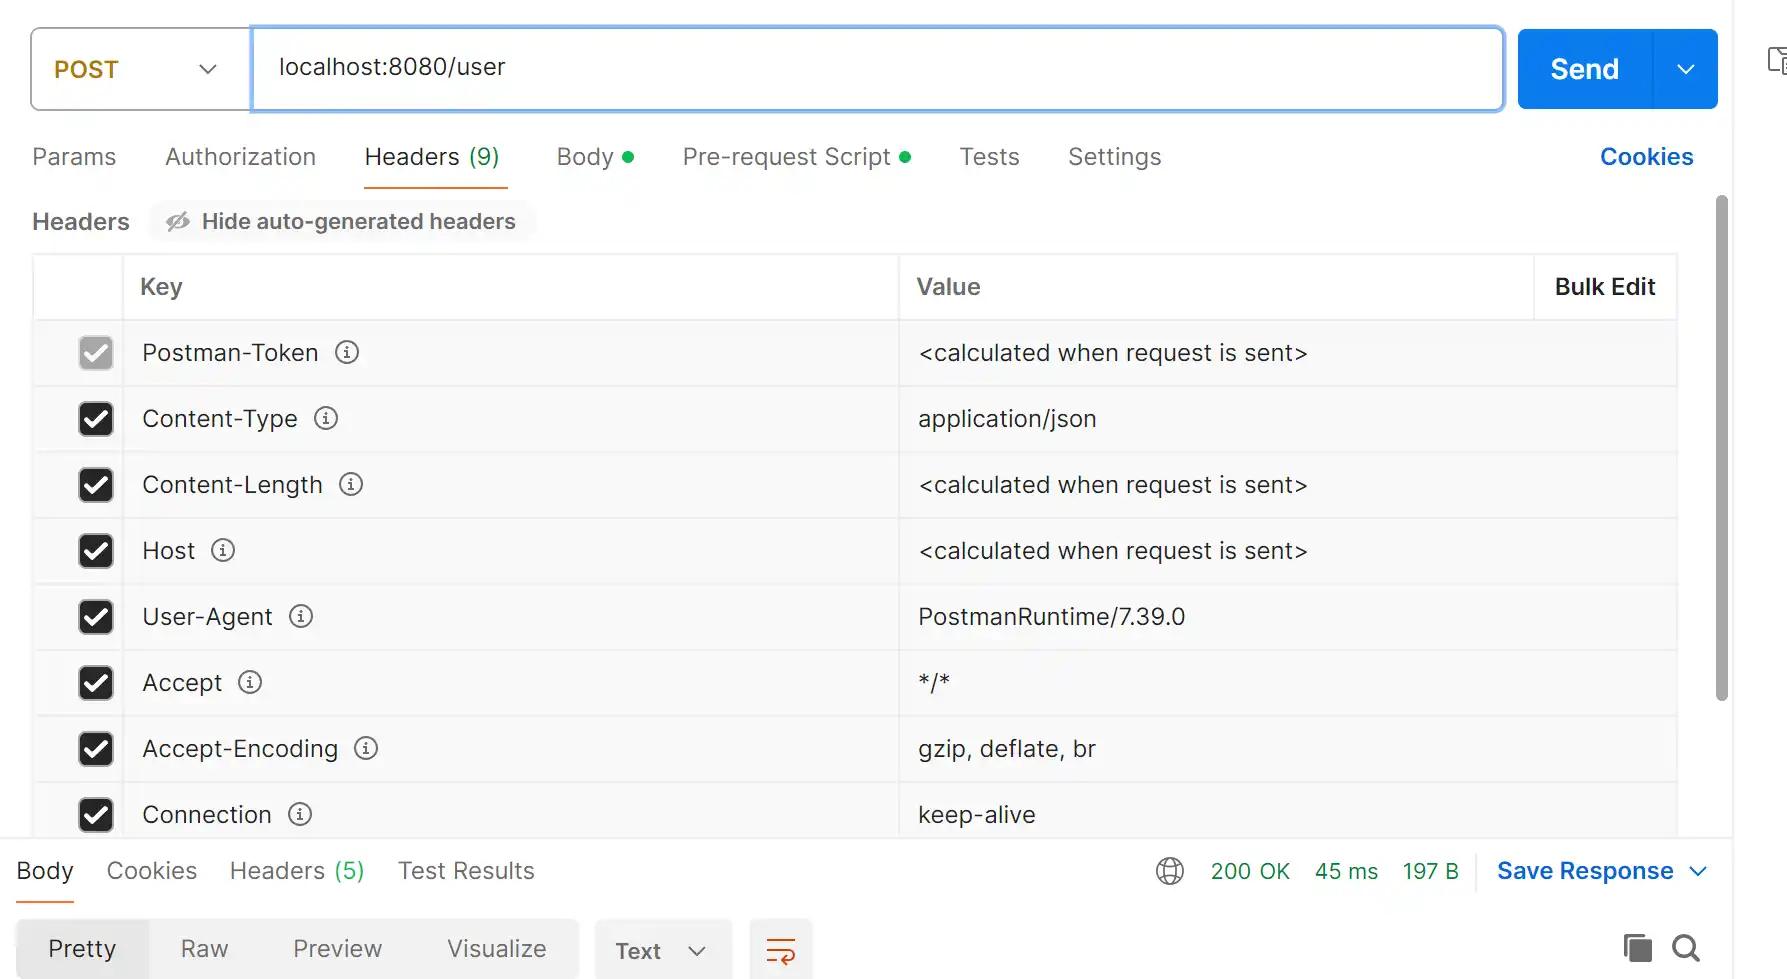
1.post方法
userId 字段的值随机获取,createTime字段的值是当前系统时间。
Headers设置
body设置
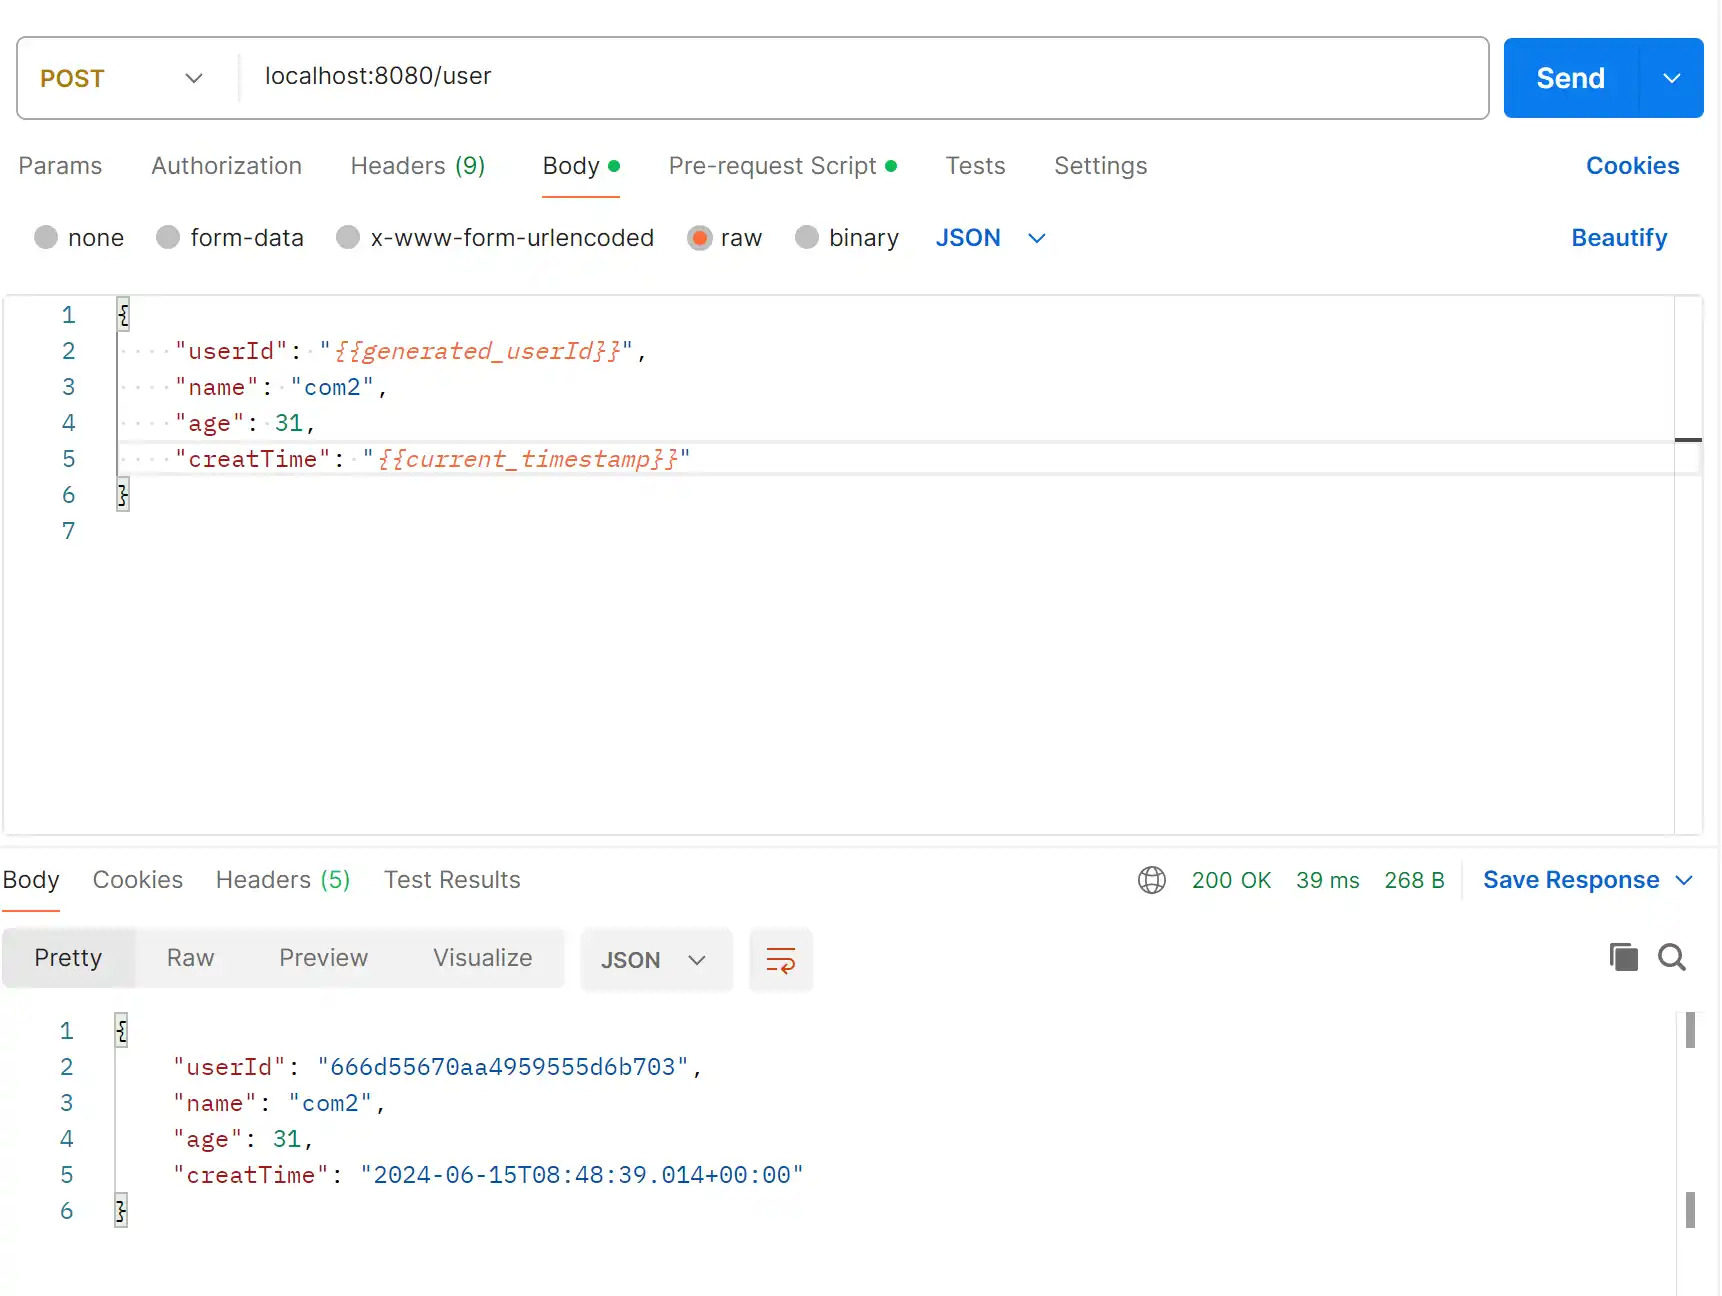
{
    "userId": "{{generated_userId}}",
    "name": "com3",
    "age": 20,
    "creatTime": "{{current_timestamp}}"
}
Pre-request Script设置
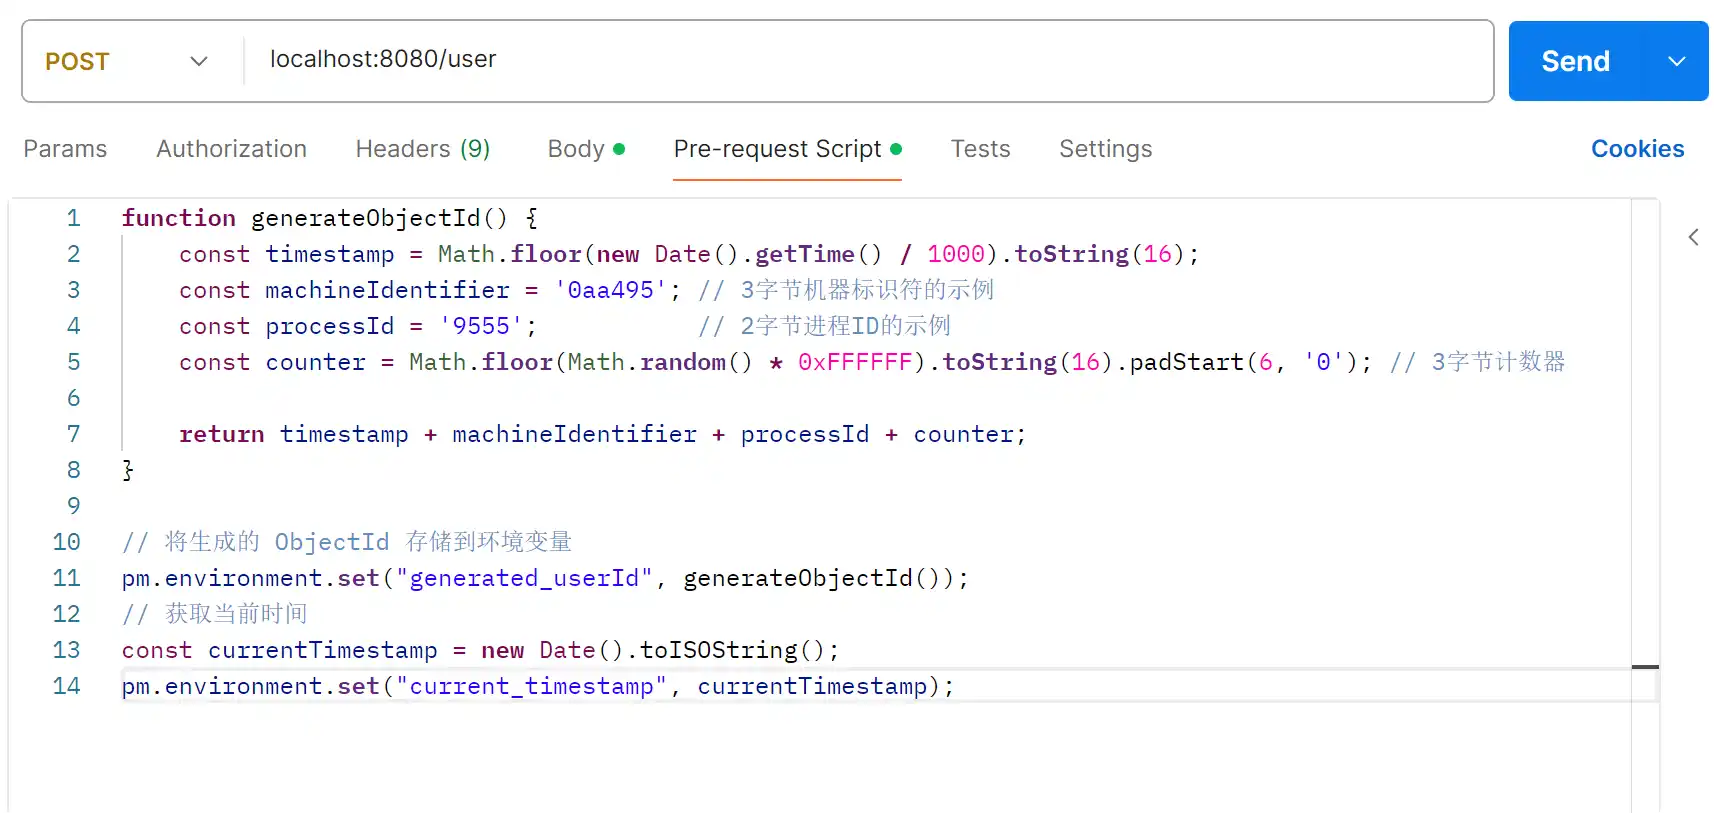
function generateObjectId() {
    const timestamp = Math.floor(new Date().getTime() / 1000).toString(16);
    const machineIdentifier = '0aa495'; // 3字节机器标识符的示例
    const processId = '9555';           // 2字节进程ID的示例
    const counter = Math.floor(Math.random() * 0xFFFFFF).toString(16).padStart(6, '0'); // 3字节计数器

    return timestamp + machineIdentifier + processId + counter;
}

// 将生成的 ObjectId 存储到环境变量
pm.environment.set("generated_userId", generateObjectId());

// 获取当前时间
const currentTimestamp = new Date().toISOString();
pm.environment.set("current_timestamp", currentTimestamp);
2.get 方法
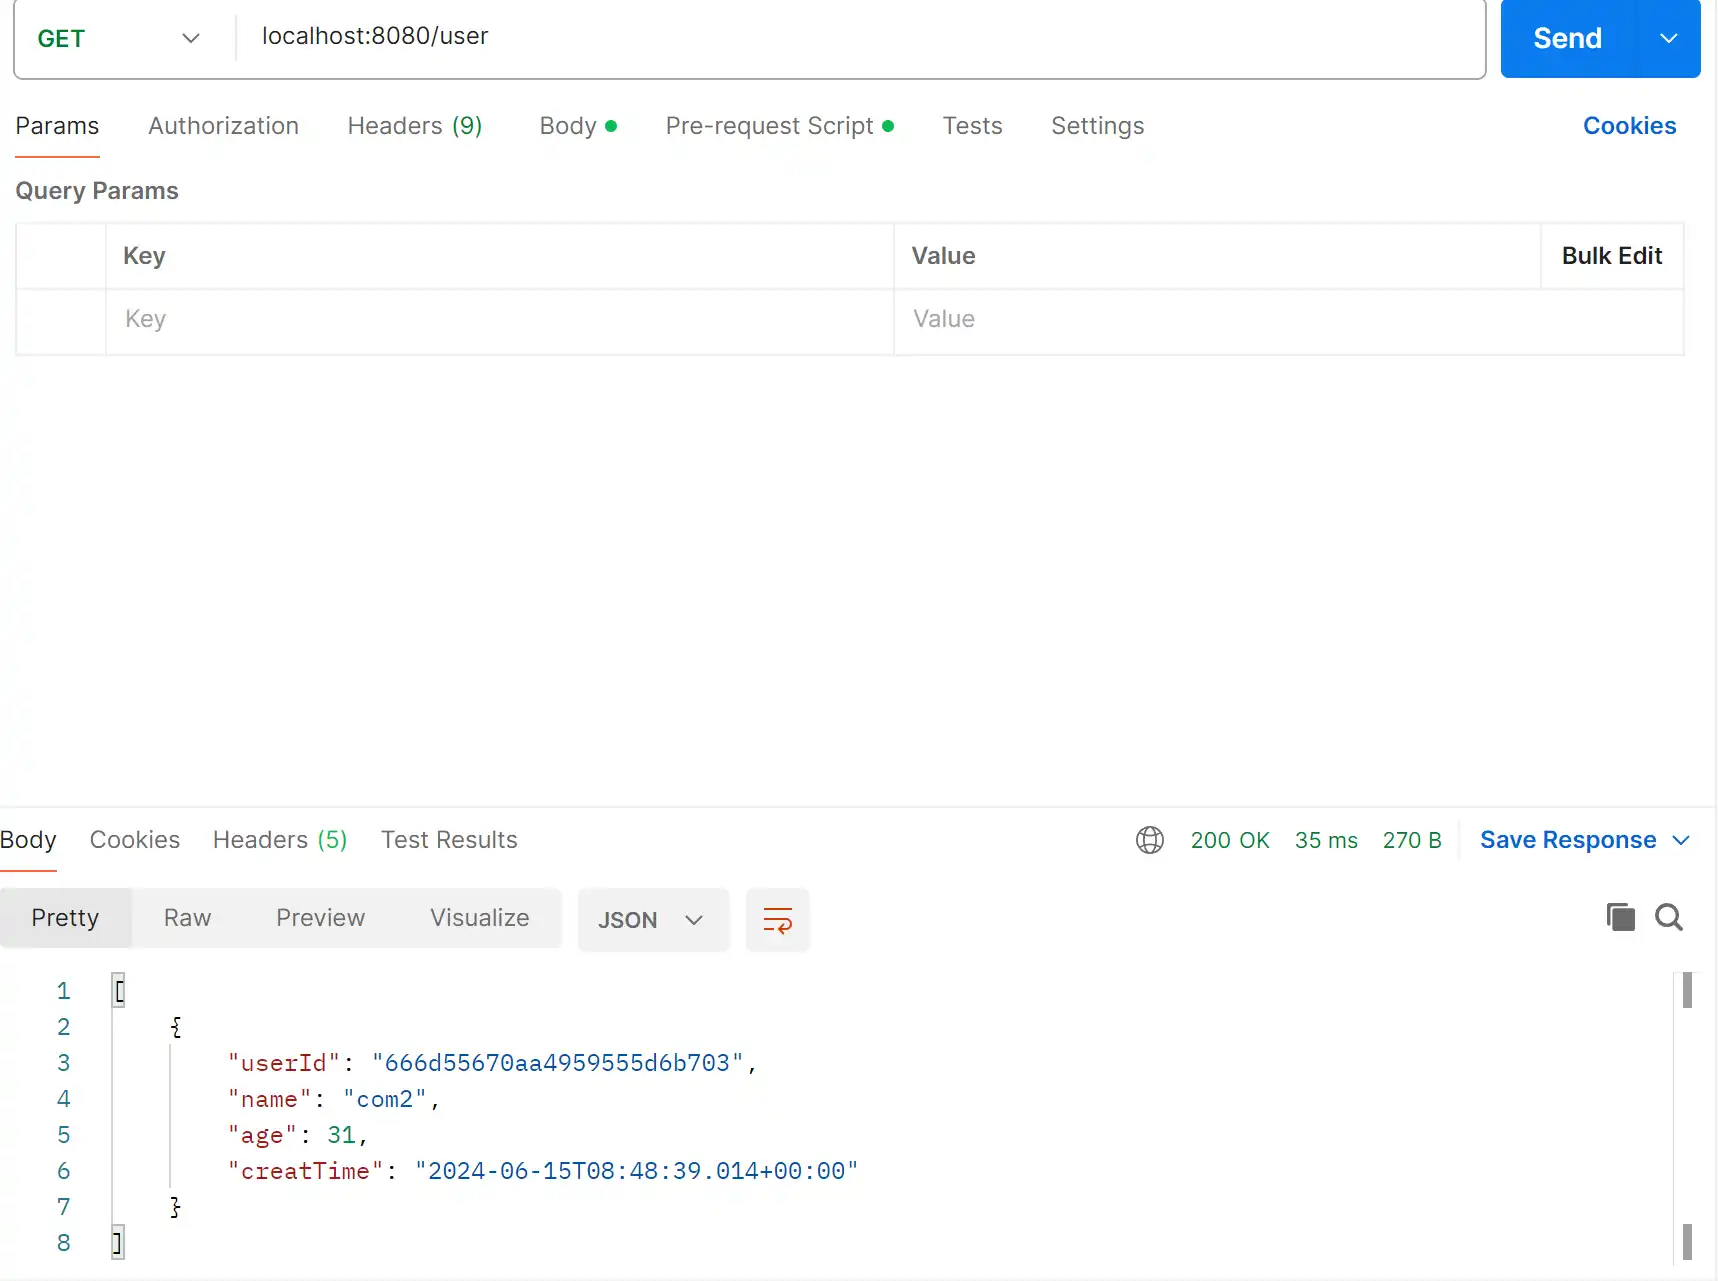
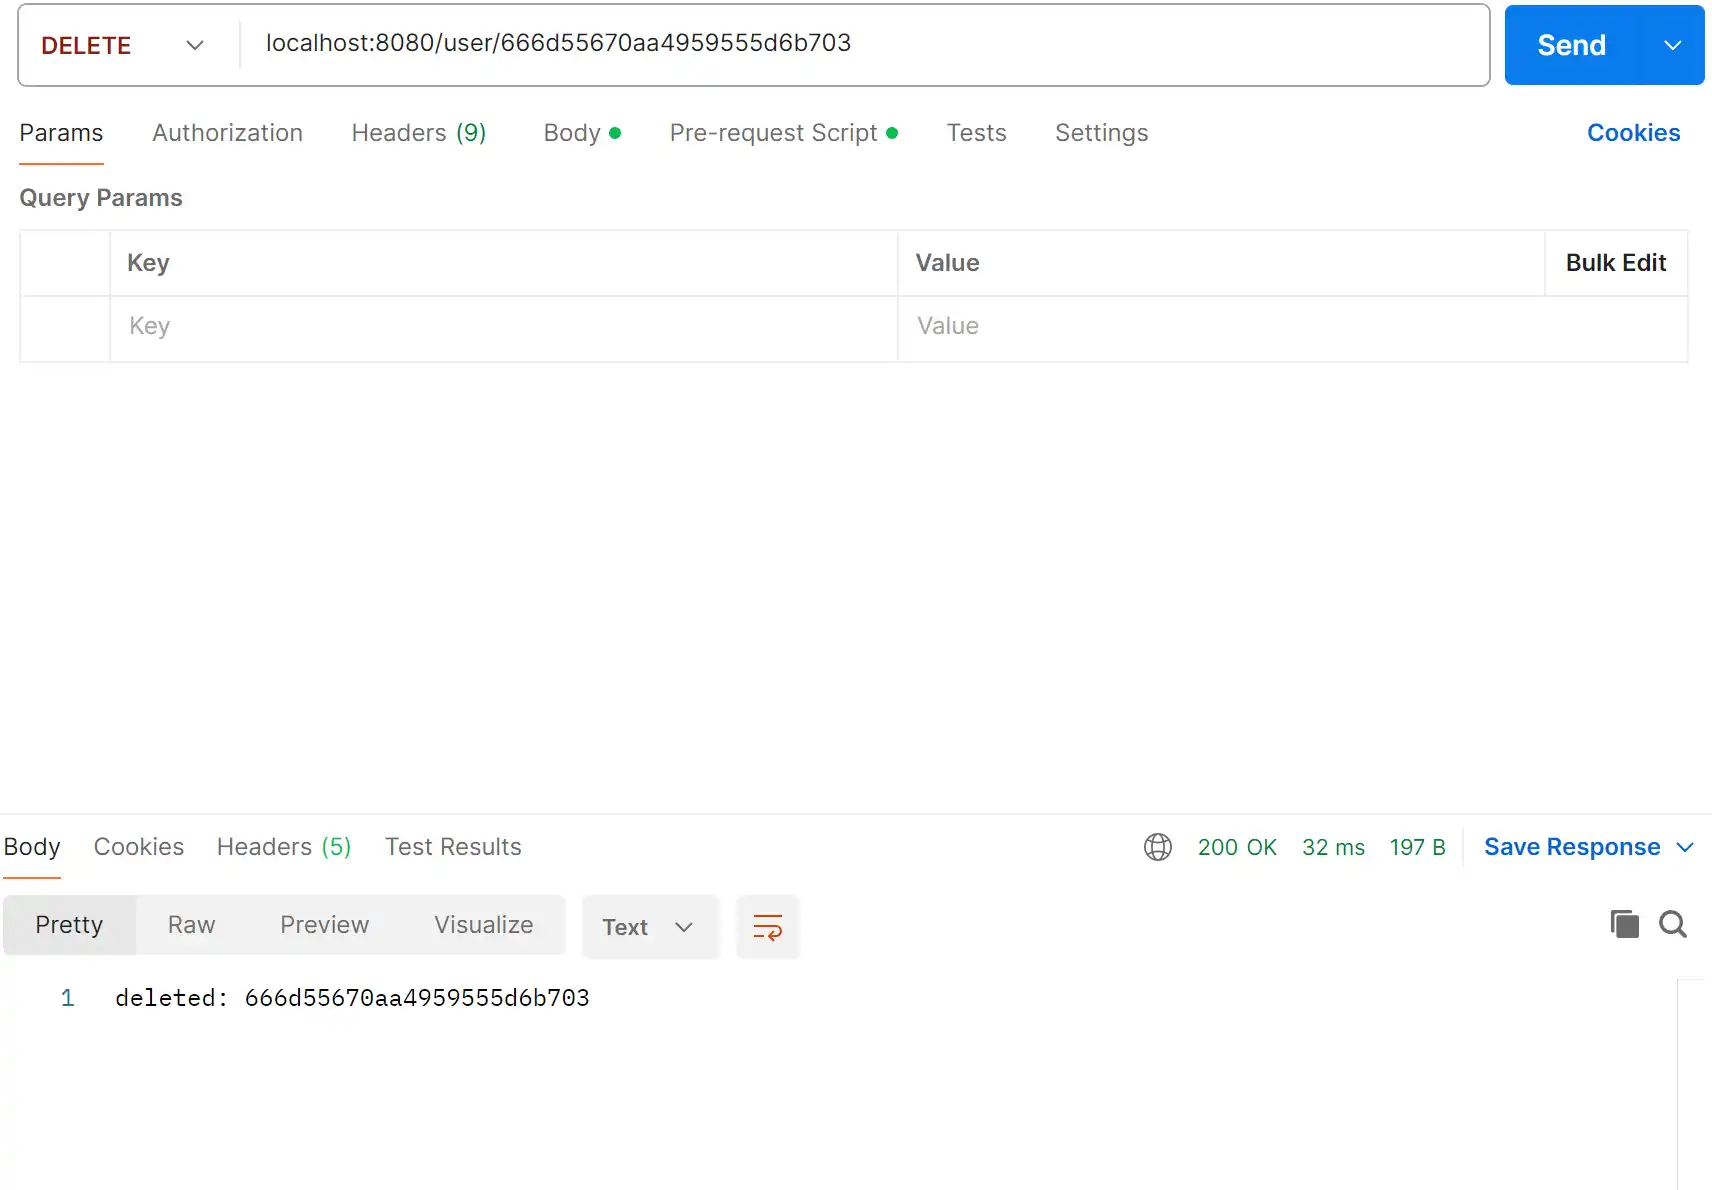
3.delete 方法
删掉userId为"666d55670aa4959555d6b703" 的数据
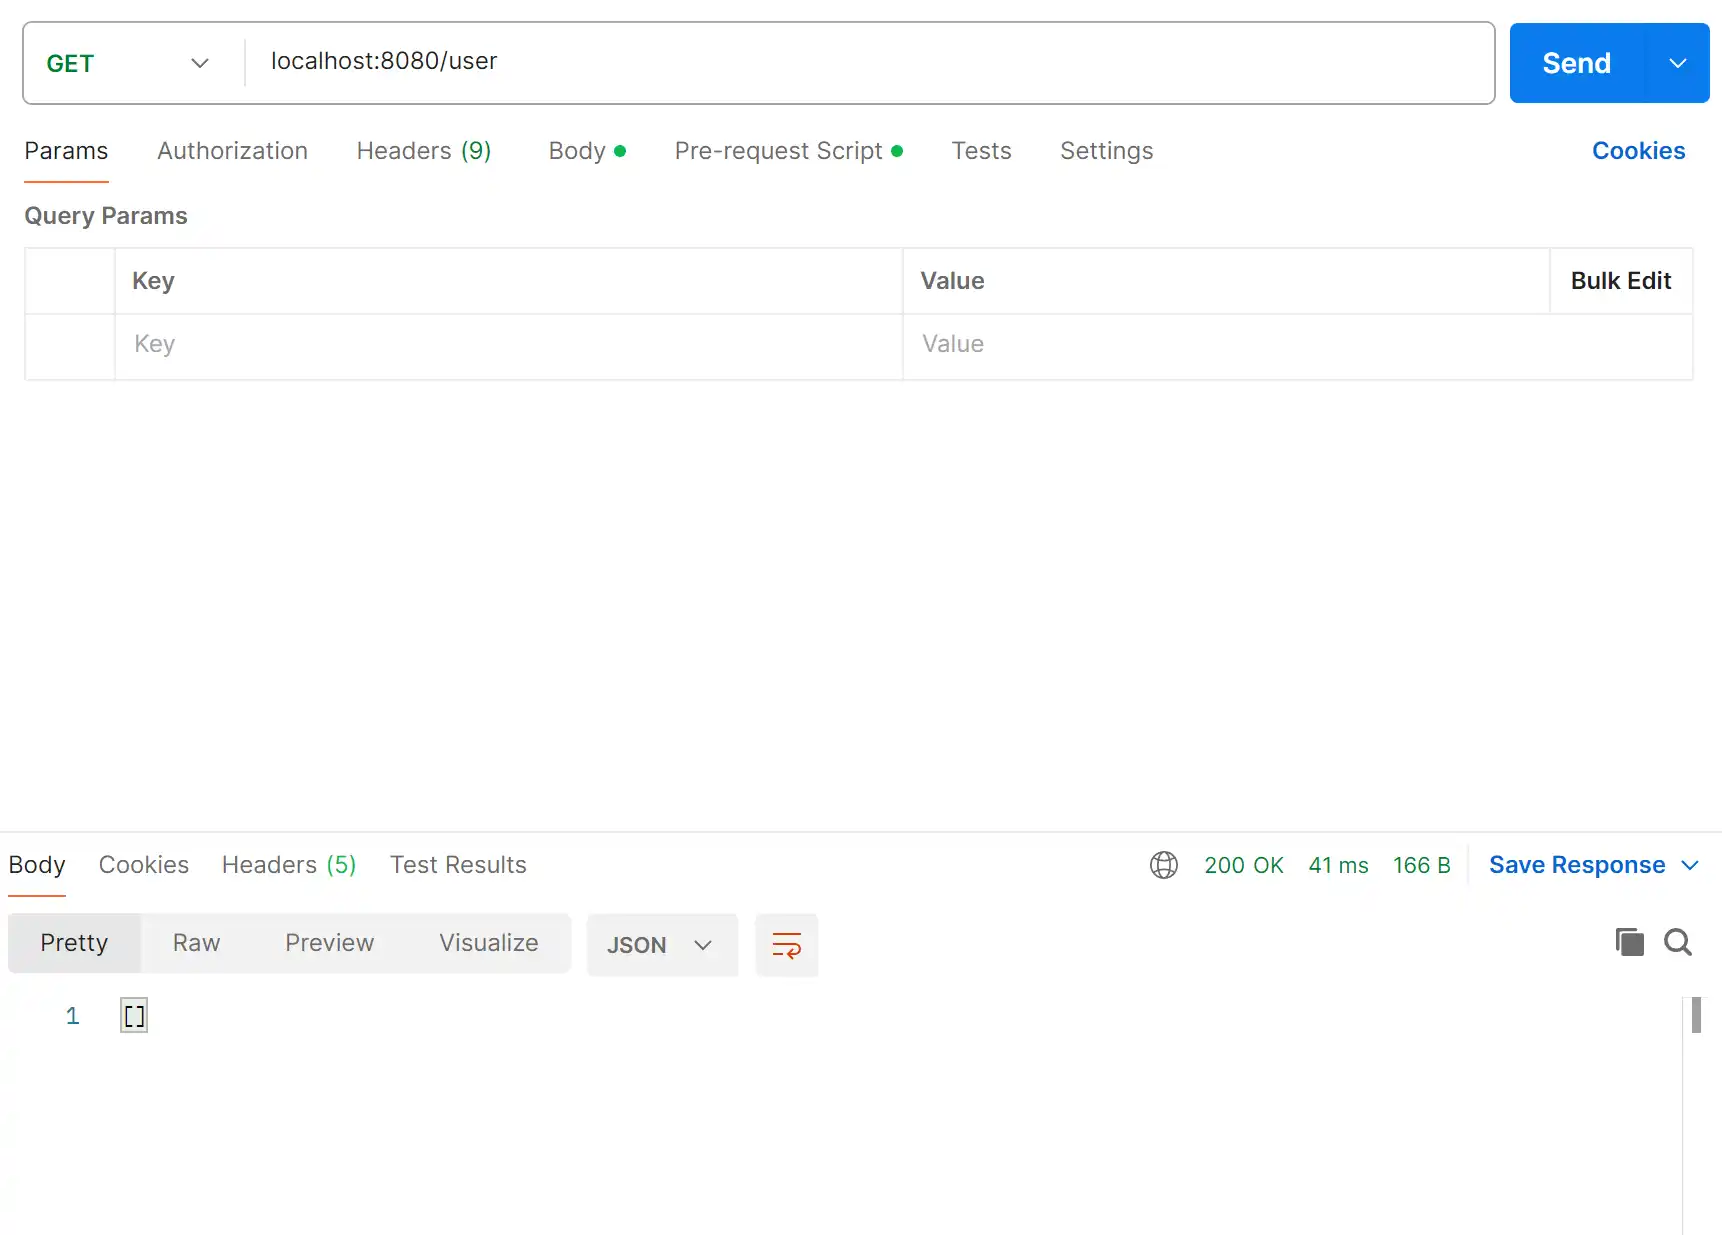
再次使用get方法查看该条数据是否还存在
评论区